
Getting Started on TikTok Ads: A Step-by-Step Guide
Ready to get started on TikTok Ads, but need some help?
Follow this step-by-step guide to creating a TikTok Business Manager and Ads Account. Bonus: if you also use Shopify, we’ll cover how to connect Shopify with TikTok Business Manager and Ads Manager to get you well on your way to running TikTok Ads.
Need some assistance in running profitable TikTok ads for your DTC brand? Check out our TikTok Ads Talk Course with David Herrmann & Cody Plofker. This 150-minute course covers running TikTok ads from beginner to expert levels and includes how to create winning creative, set up a winning account structure, optimize your account, and more.
Step 1:
Visit: http://business.tiktok.com/, then click “Log In” in the top right corner.
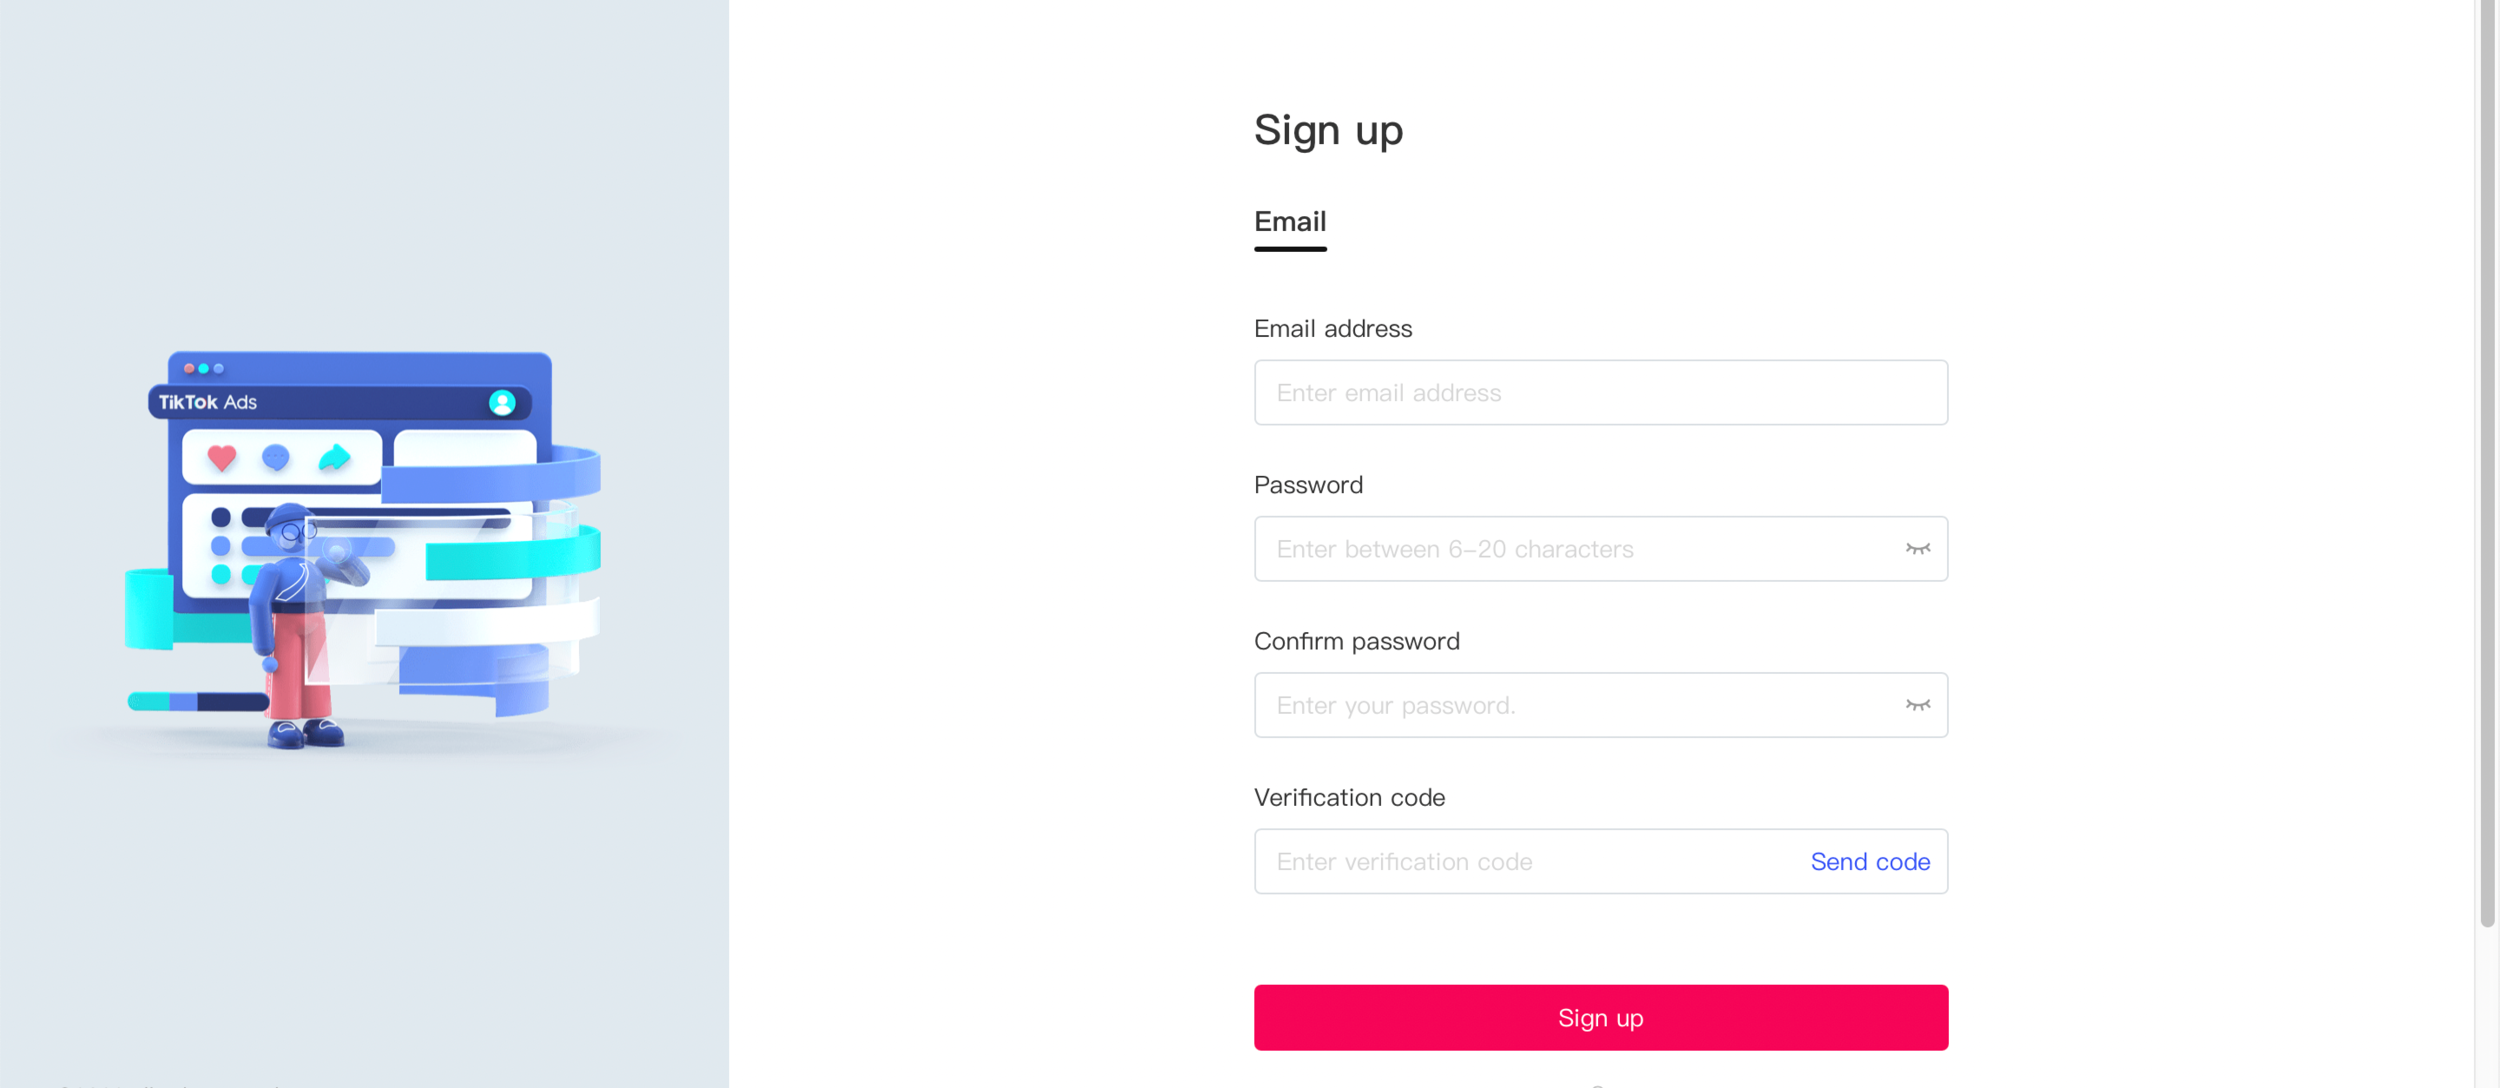
Step 2:
If you aren’t logged in or don’t have an account set up already, In the top right corner, click “Don’t have an account? Sign up now.”
If you aren’t logged in, but have already created an account, log in.
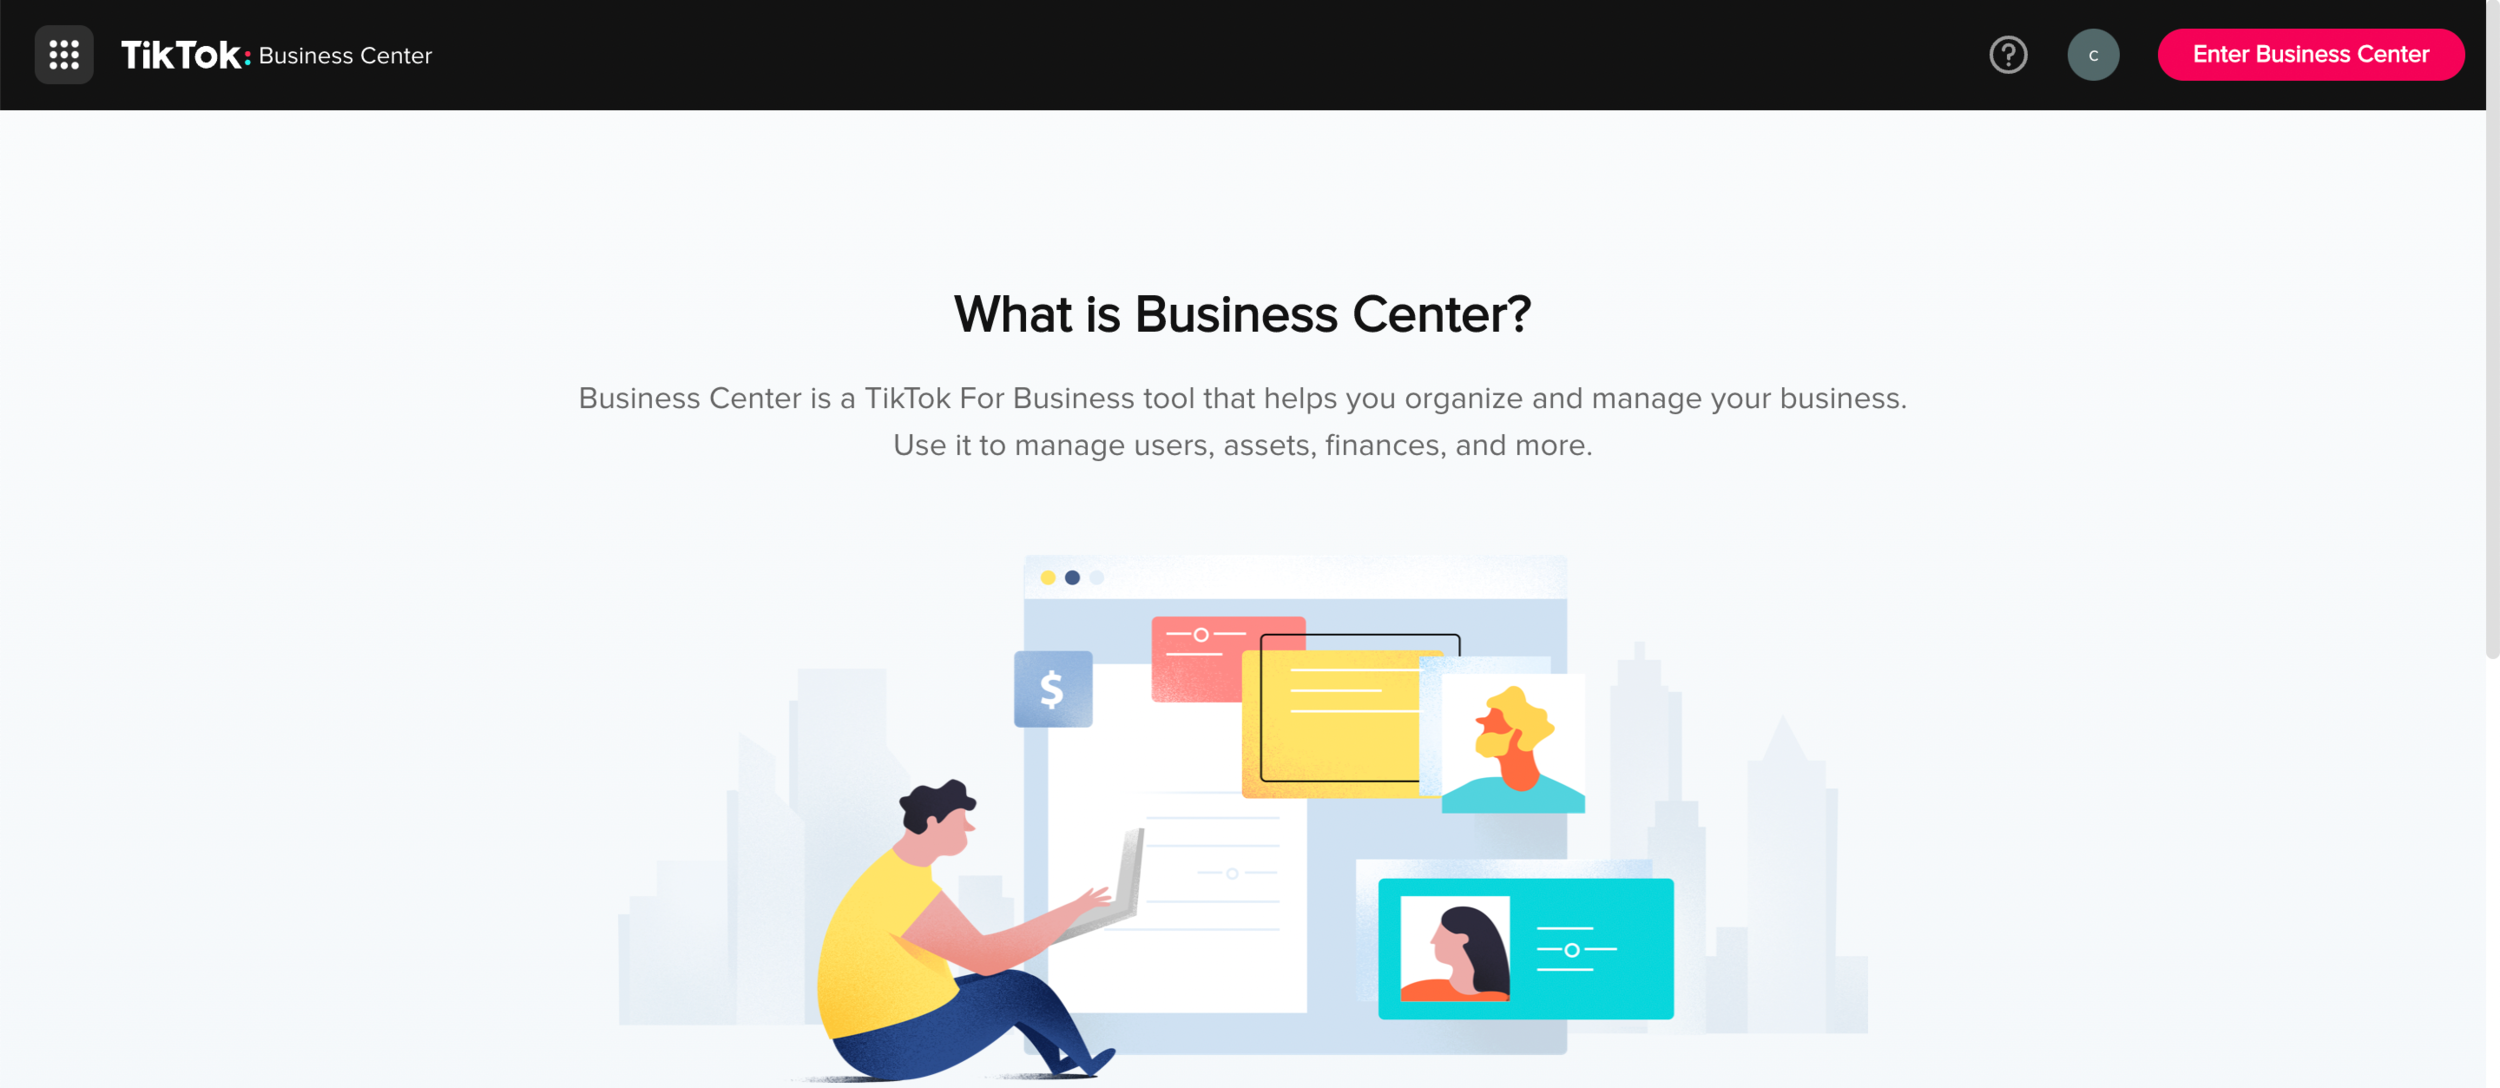
If you already have a TikTok Business Account and are logged in, click “Enter Business Center” in the top right corner and skip to step 3.
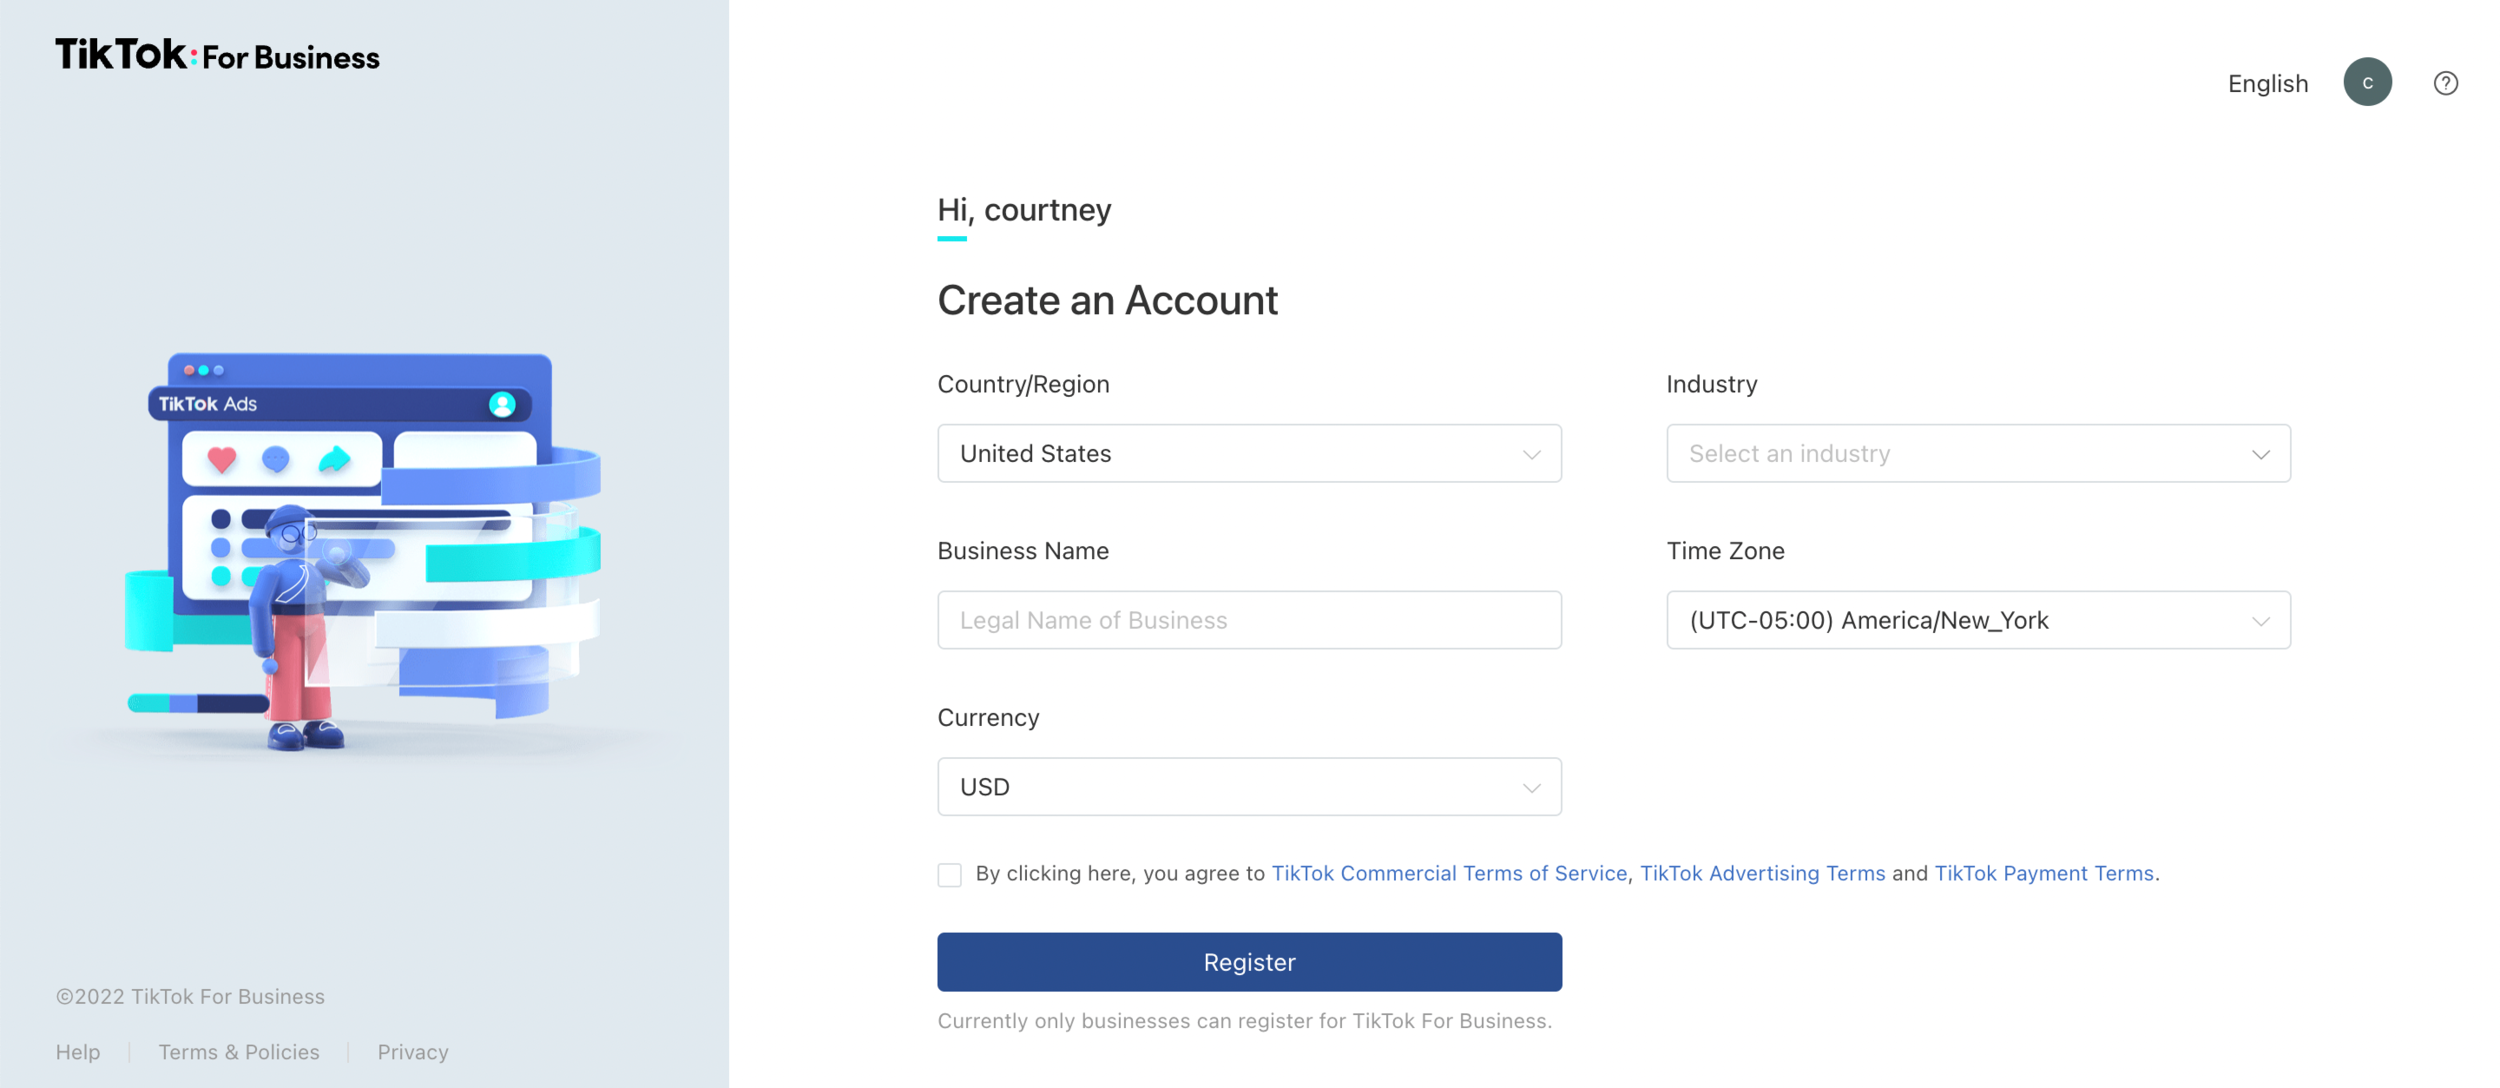
Step 3:
Create an account in TikTok Business Center.
Subscribe to the Foxwell Digital Download
Enter your email address to receive the latest news and updates in digital advertising.
Step 4:
Click on your newly created Business account.

Add any additional members that you want to be in your TikTok Business Center account (you can also do this later)
Navigate to the “Advertiser Accounts” tab in the left column.

Step 5:
Create an advertiser account.
In a new tab, visit: https://ads.tiktok.com/i18n/register to create an Ad account (separate from Business Center – we’ll connect them in a later step.

Step 6:
Enter business information including website, billing address, and automatic or manual payments

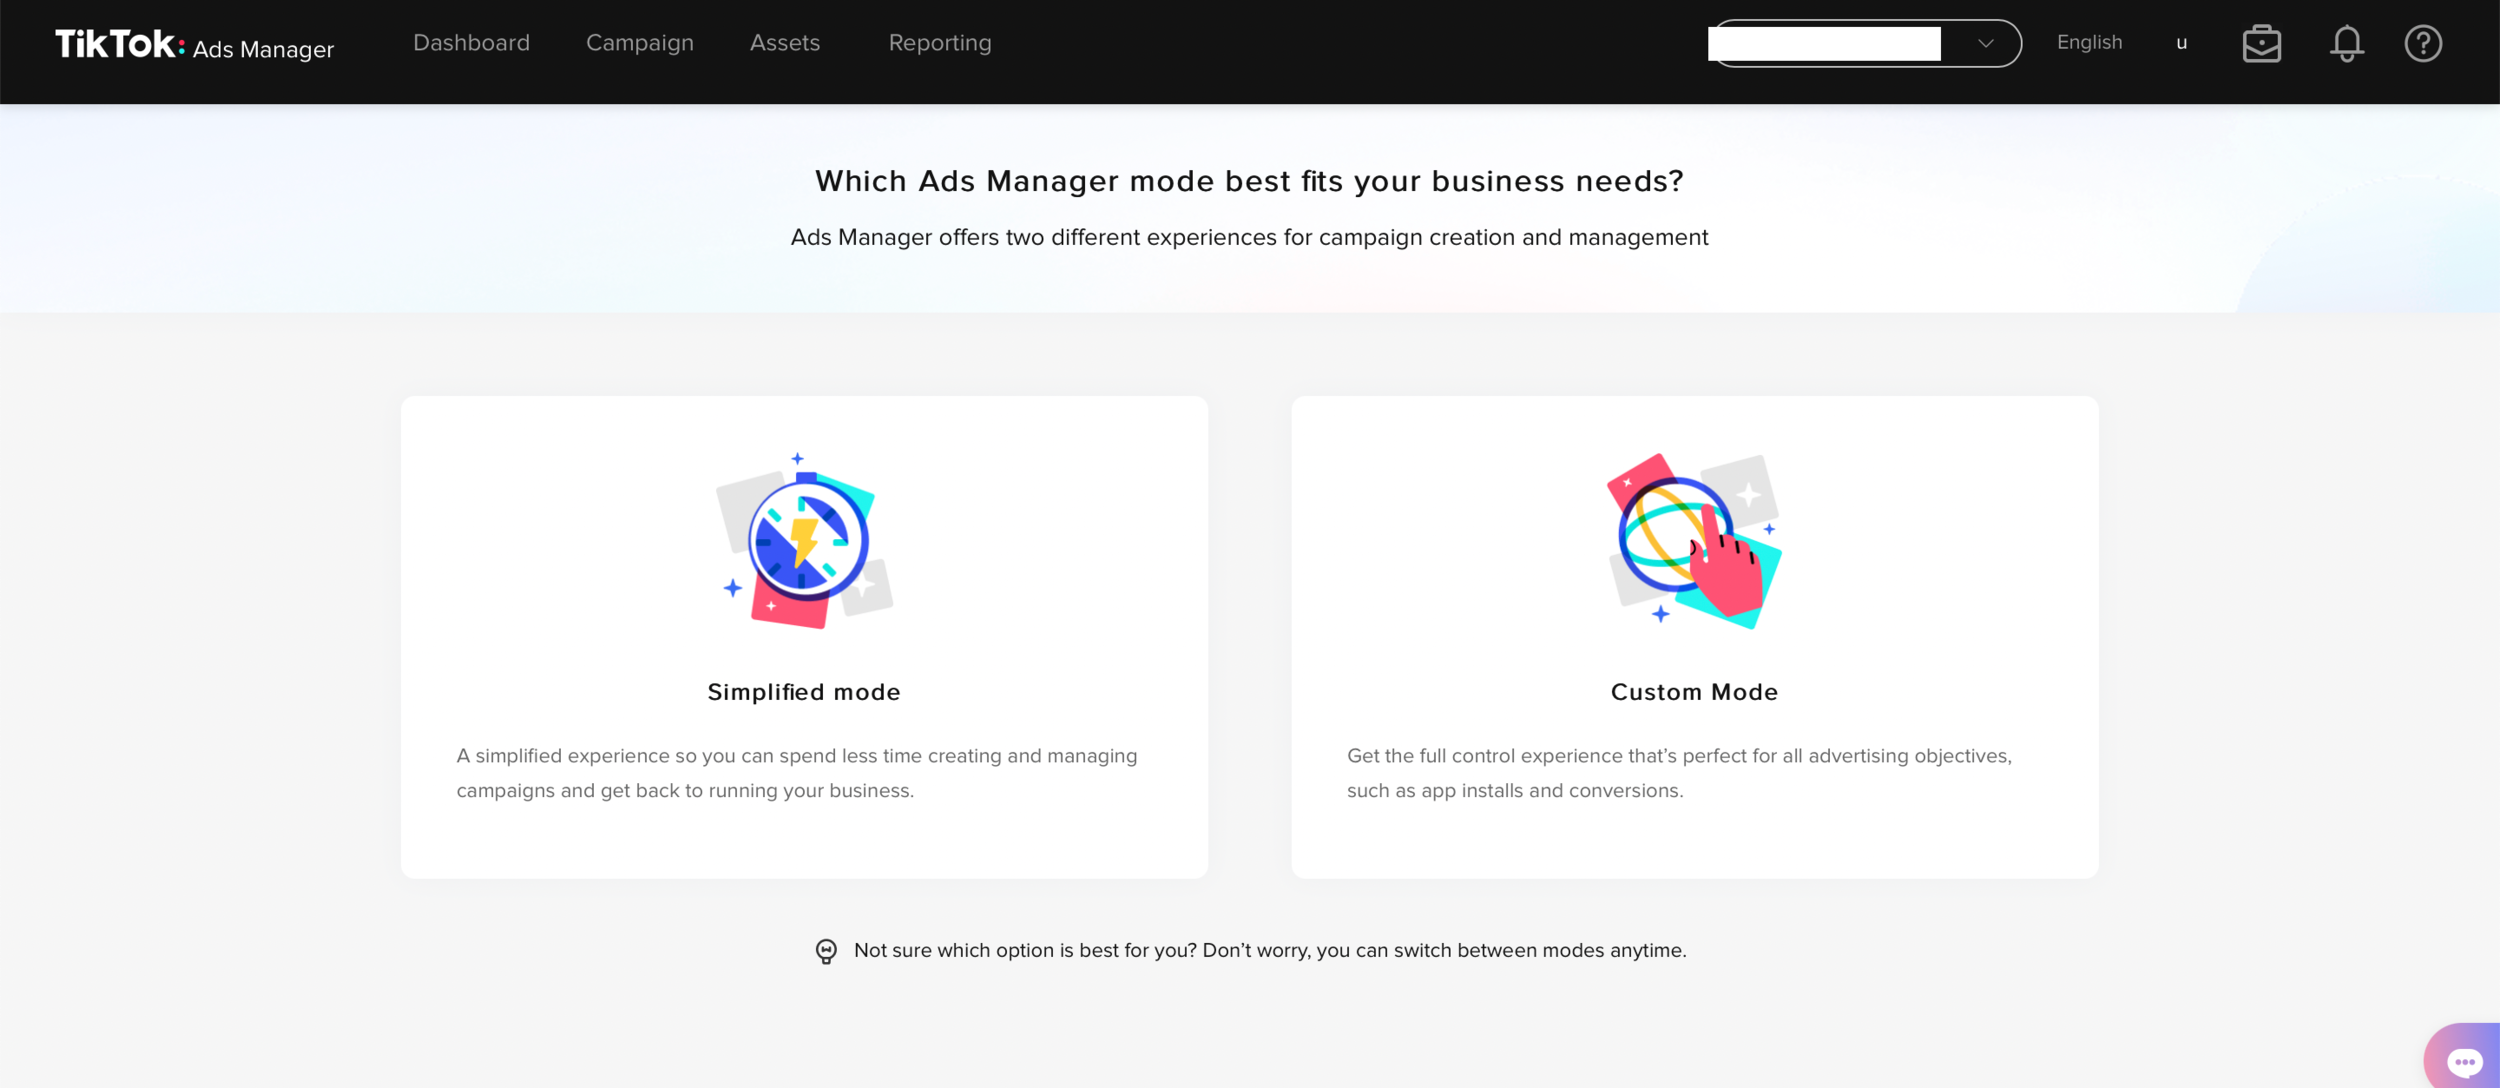
Step 7:
We recommend choosing “Custom Mode” for ad creation and management, as this will give you the most control over your ads.
Step 8:
Congrats! Your Ad Account is created! 🎉
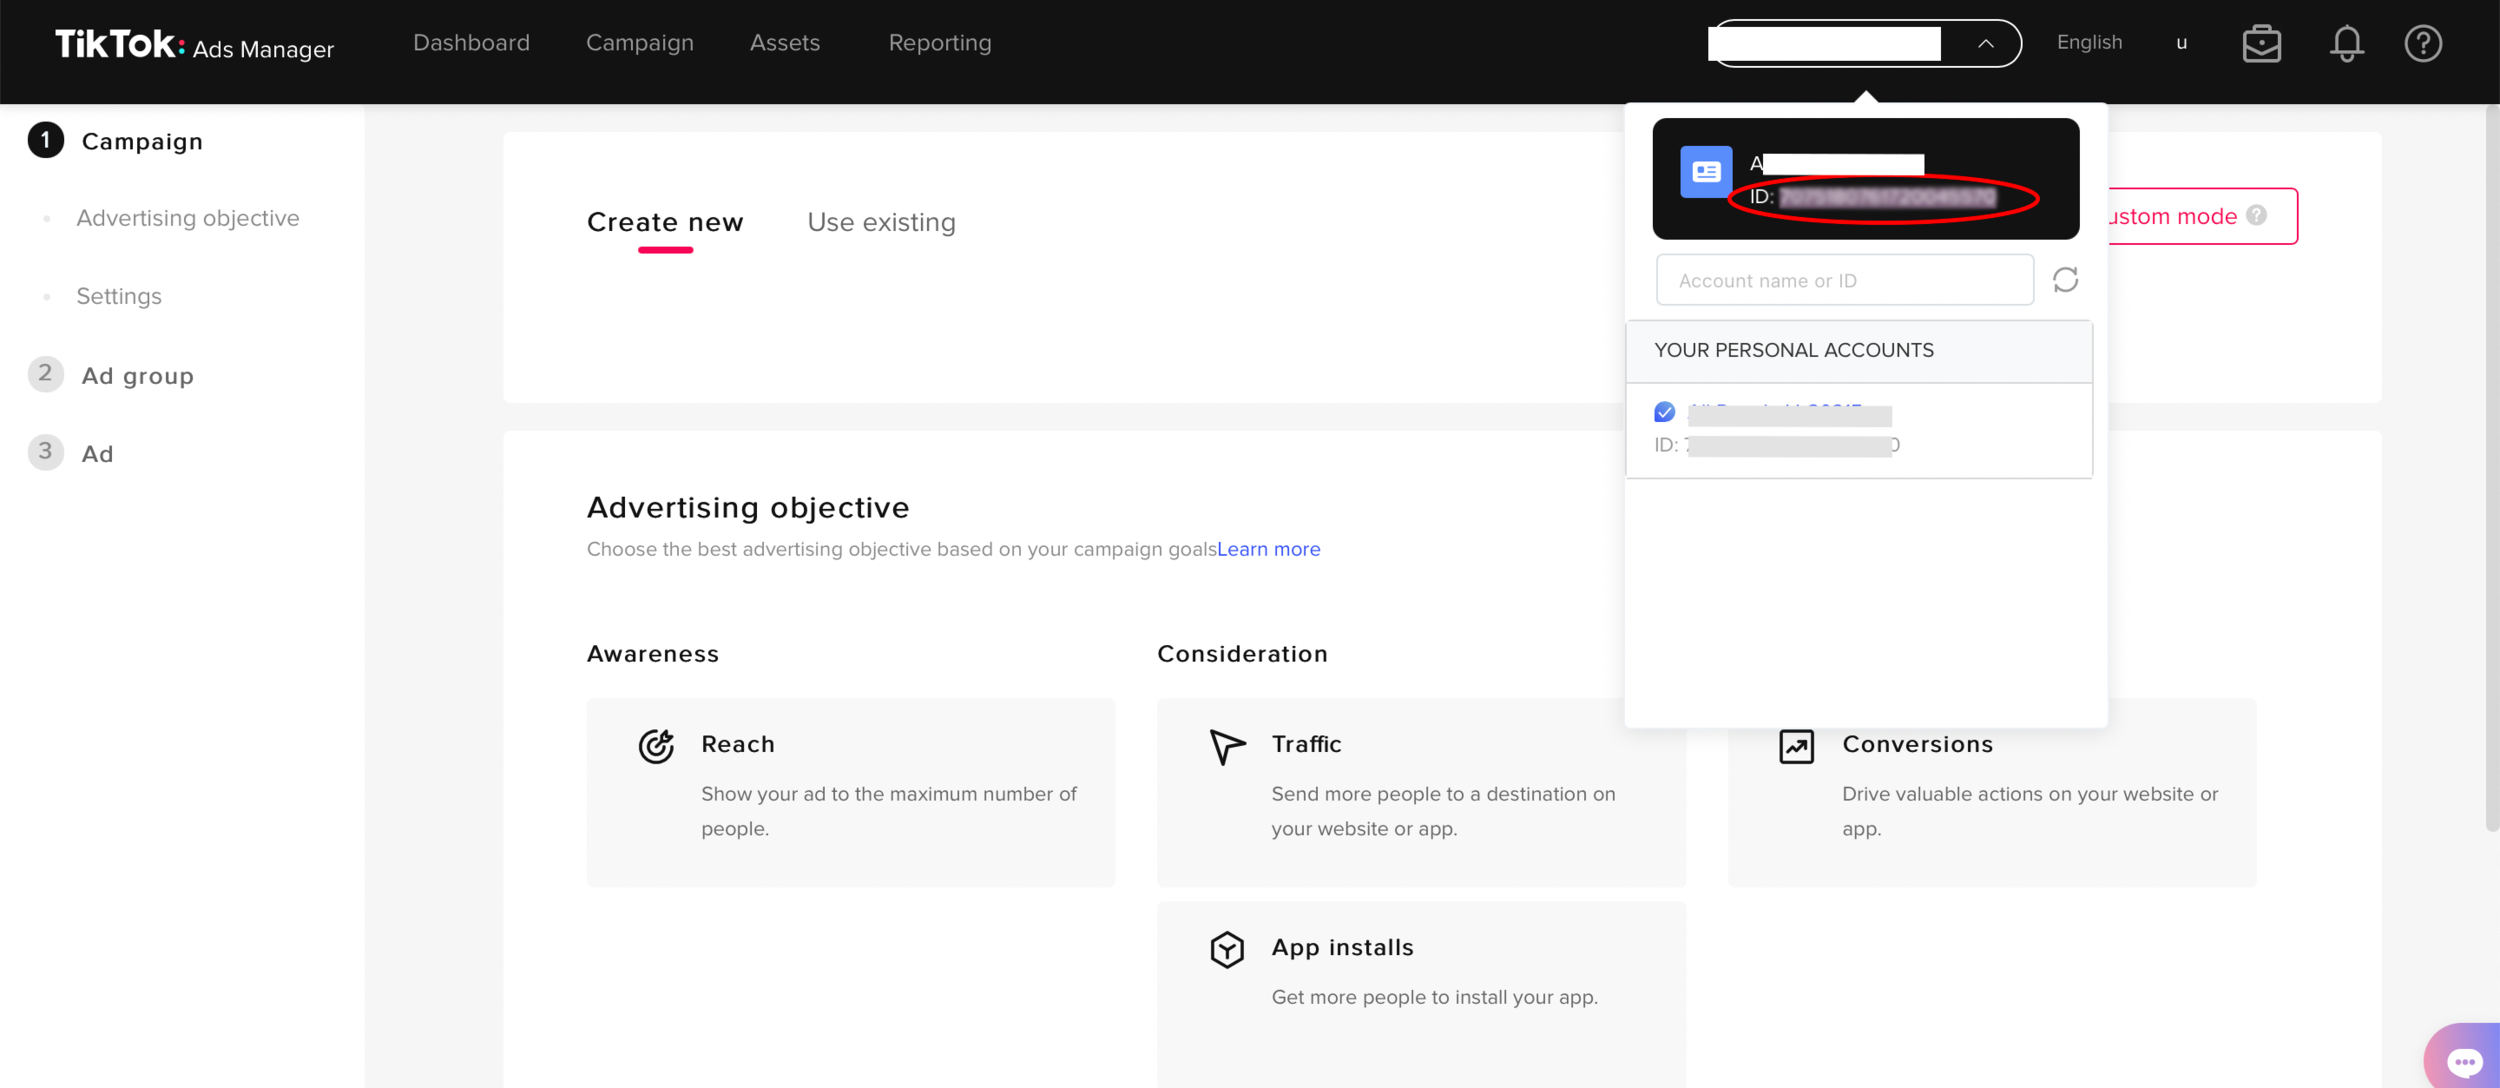
Now, we need to connect your newly created Ad Account with your recently created Business Center.
In the top right corner of the next screen, copy the string of numbers that is your Ad Account ID.
Step 9:
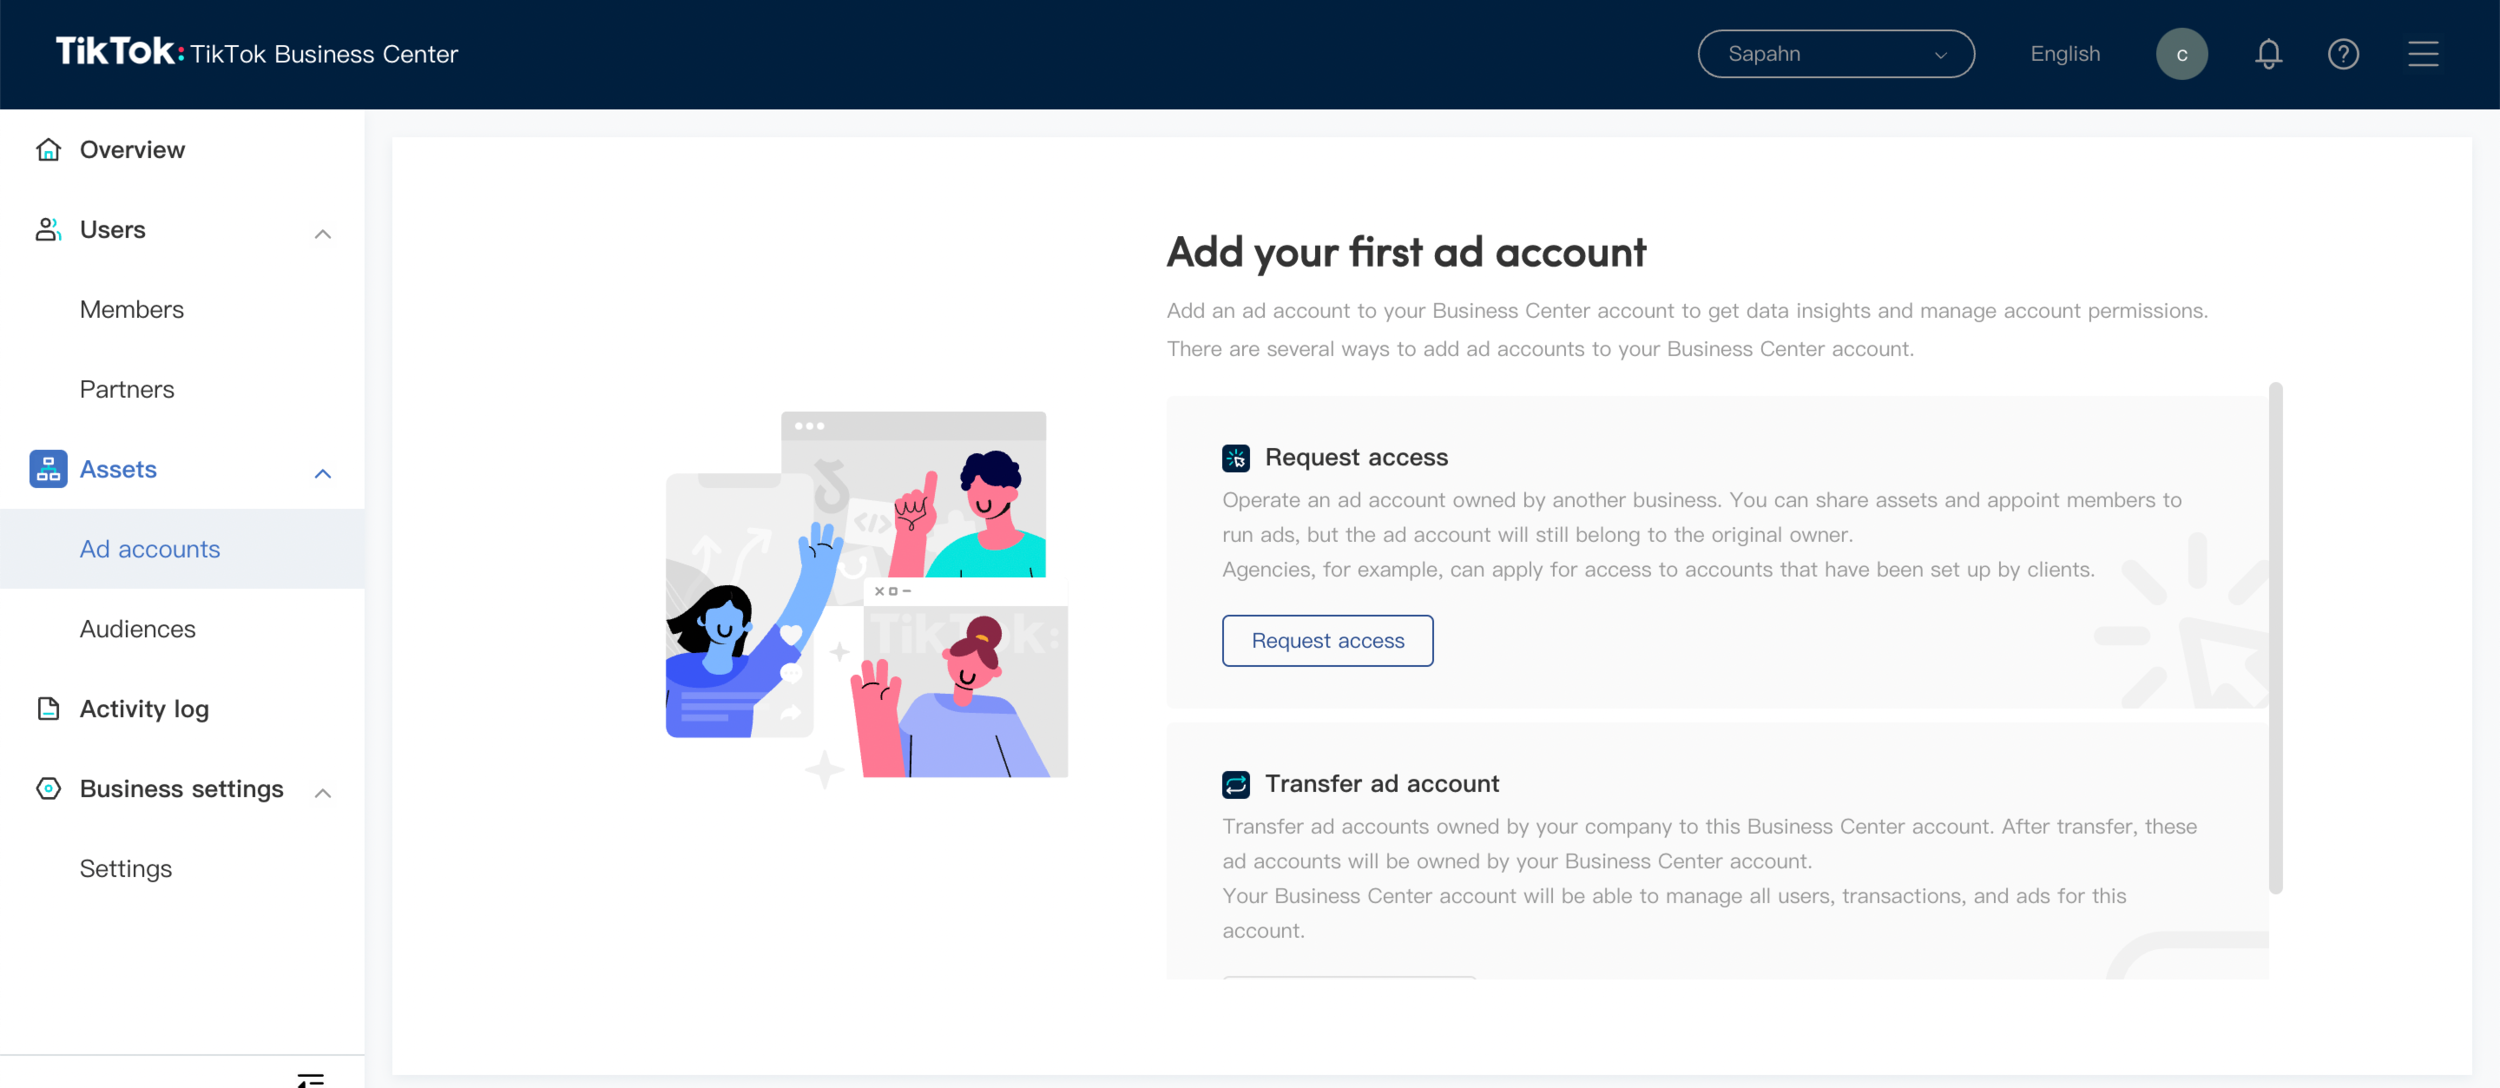
Navigate back to the original tab from Step 4, or, if you closed it, go back to http://business.tiktok.com/ and click on the Business Center you are currently working with.
Determine whether you need to request access to advertiser account or transfer an advertiser account to your Business Center.
If you request access to an advertiser account, the account must already exist and you must have their Ad Account ID. You would do this if you are an agency or freelancer who is new to working on the brand on TikTok ads, but they have ran ads before or already have an existing Business Center and Ad Account. For this option, the brand must still want to own their own Ad Account and you are simply requesting access to it, but not requesting ownership.
If you transfer an advertiser account, the Business Center you are currently logged into will be requesting access to own the ad account. If you have followed the steps to this point, this is the option you will choose.
Step 10:
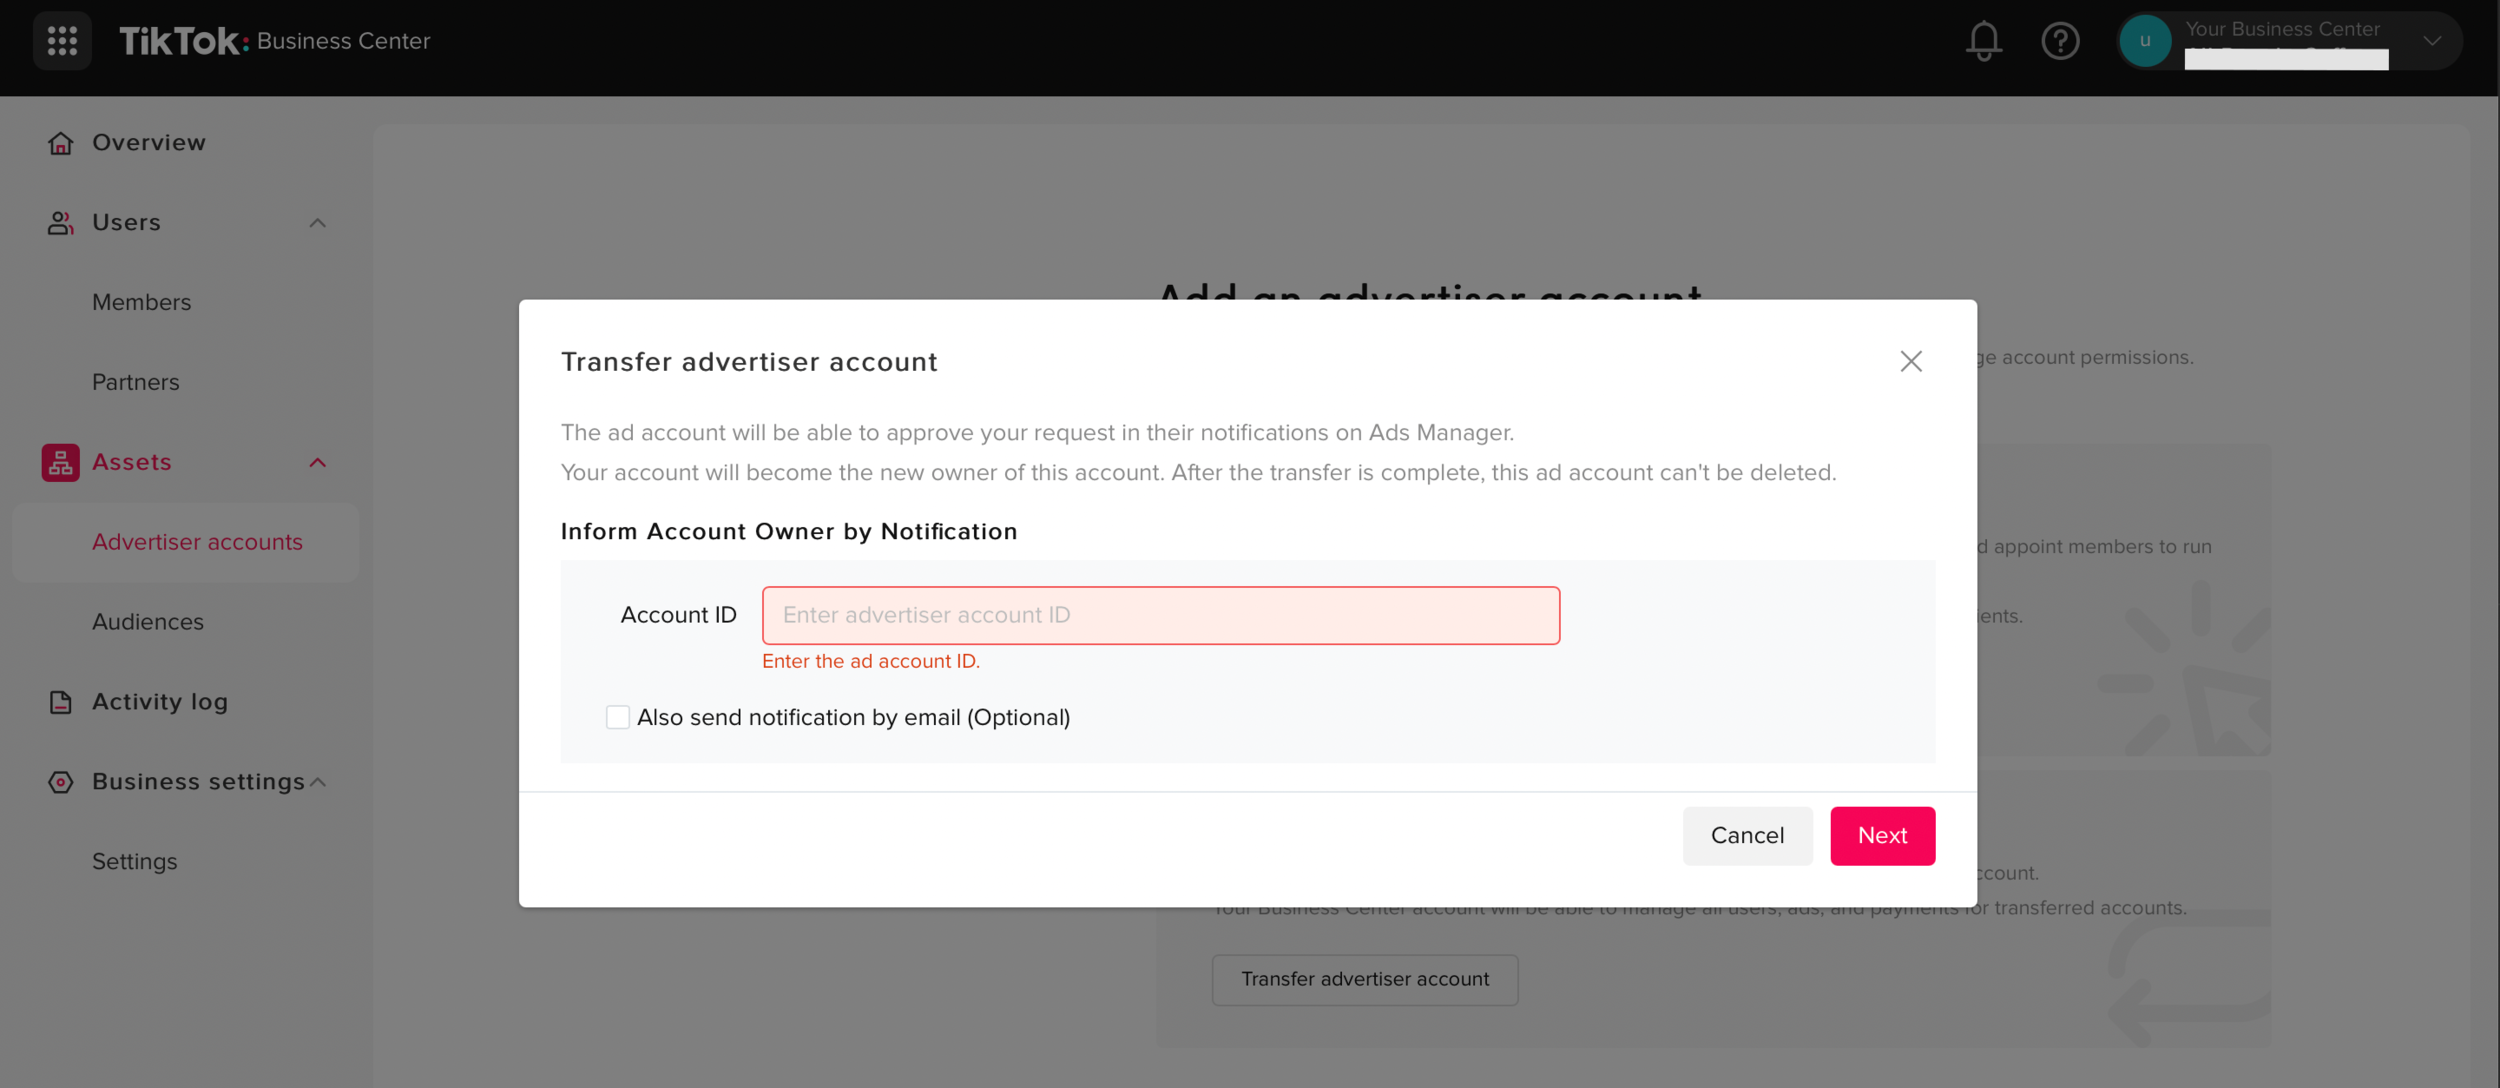
Copy the Ad Account ID from Step 8.
Choose Transfer Ad Account
Paste the Ad Account ID into the box
If you see an error (i.e. This ad account hasn't been approved), either wait some time to retry this step, or visit this TikTok Support Document on how to request an account review.
Wait until this step is completed before advancing to the next step to install the Shopify TikTok pixel.
Step 11:
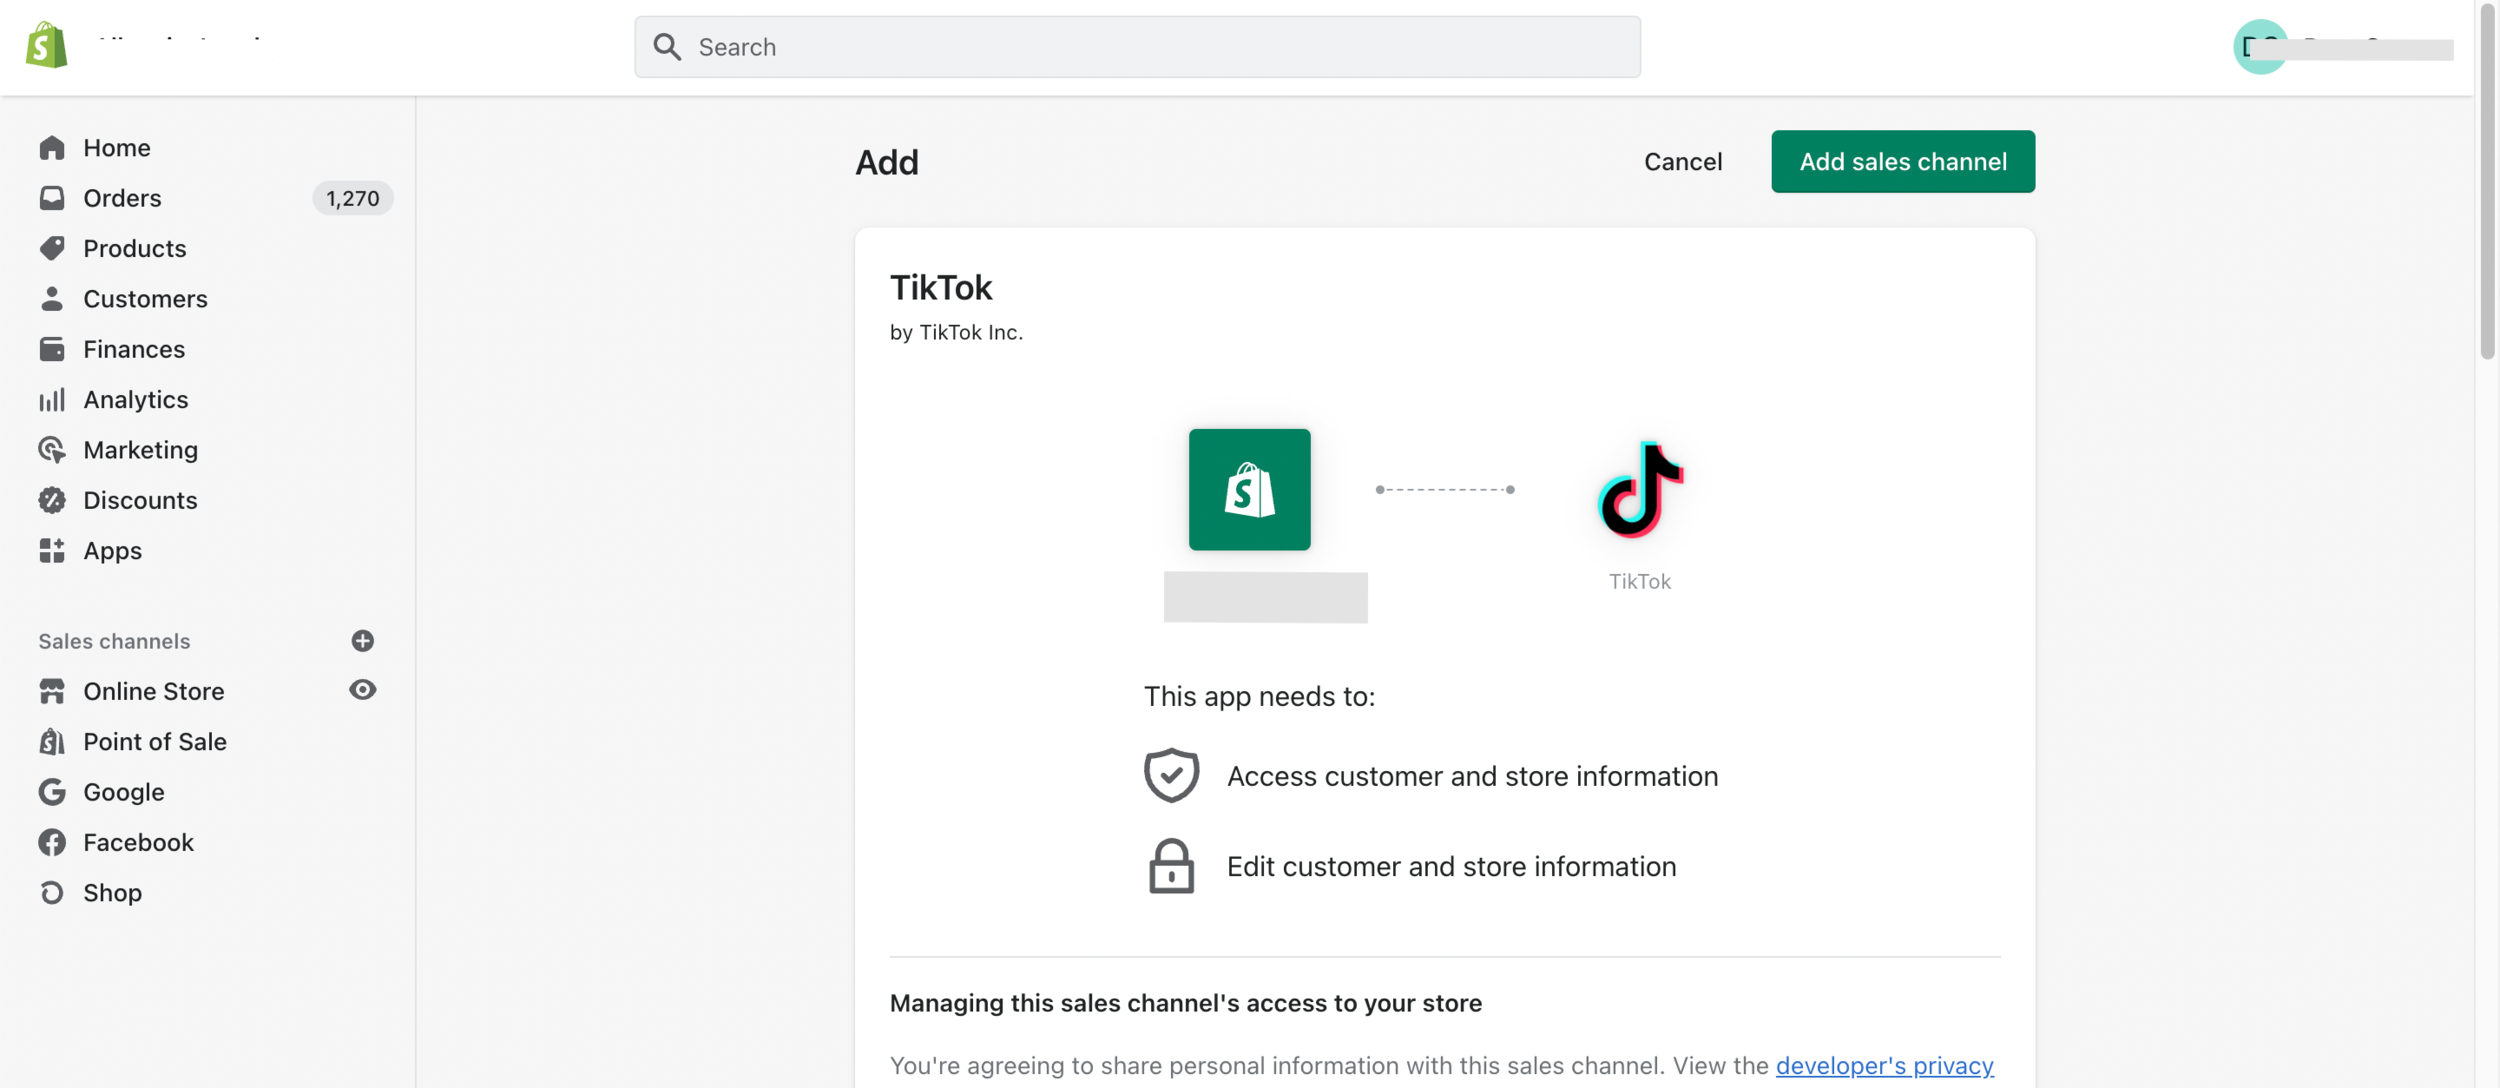
Log in to your Shopify Business Account dashboard.
Click Apps (left column)
Click Customize Your Store (green button in the top right corner)
Search TikTok
Choose the app, TikTok by TikTok Inc. (make sure it is the right app and not a knock-off or off-brand app)
Click Add App
Click Add Sales Channel
Step 12:
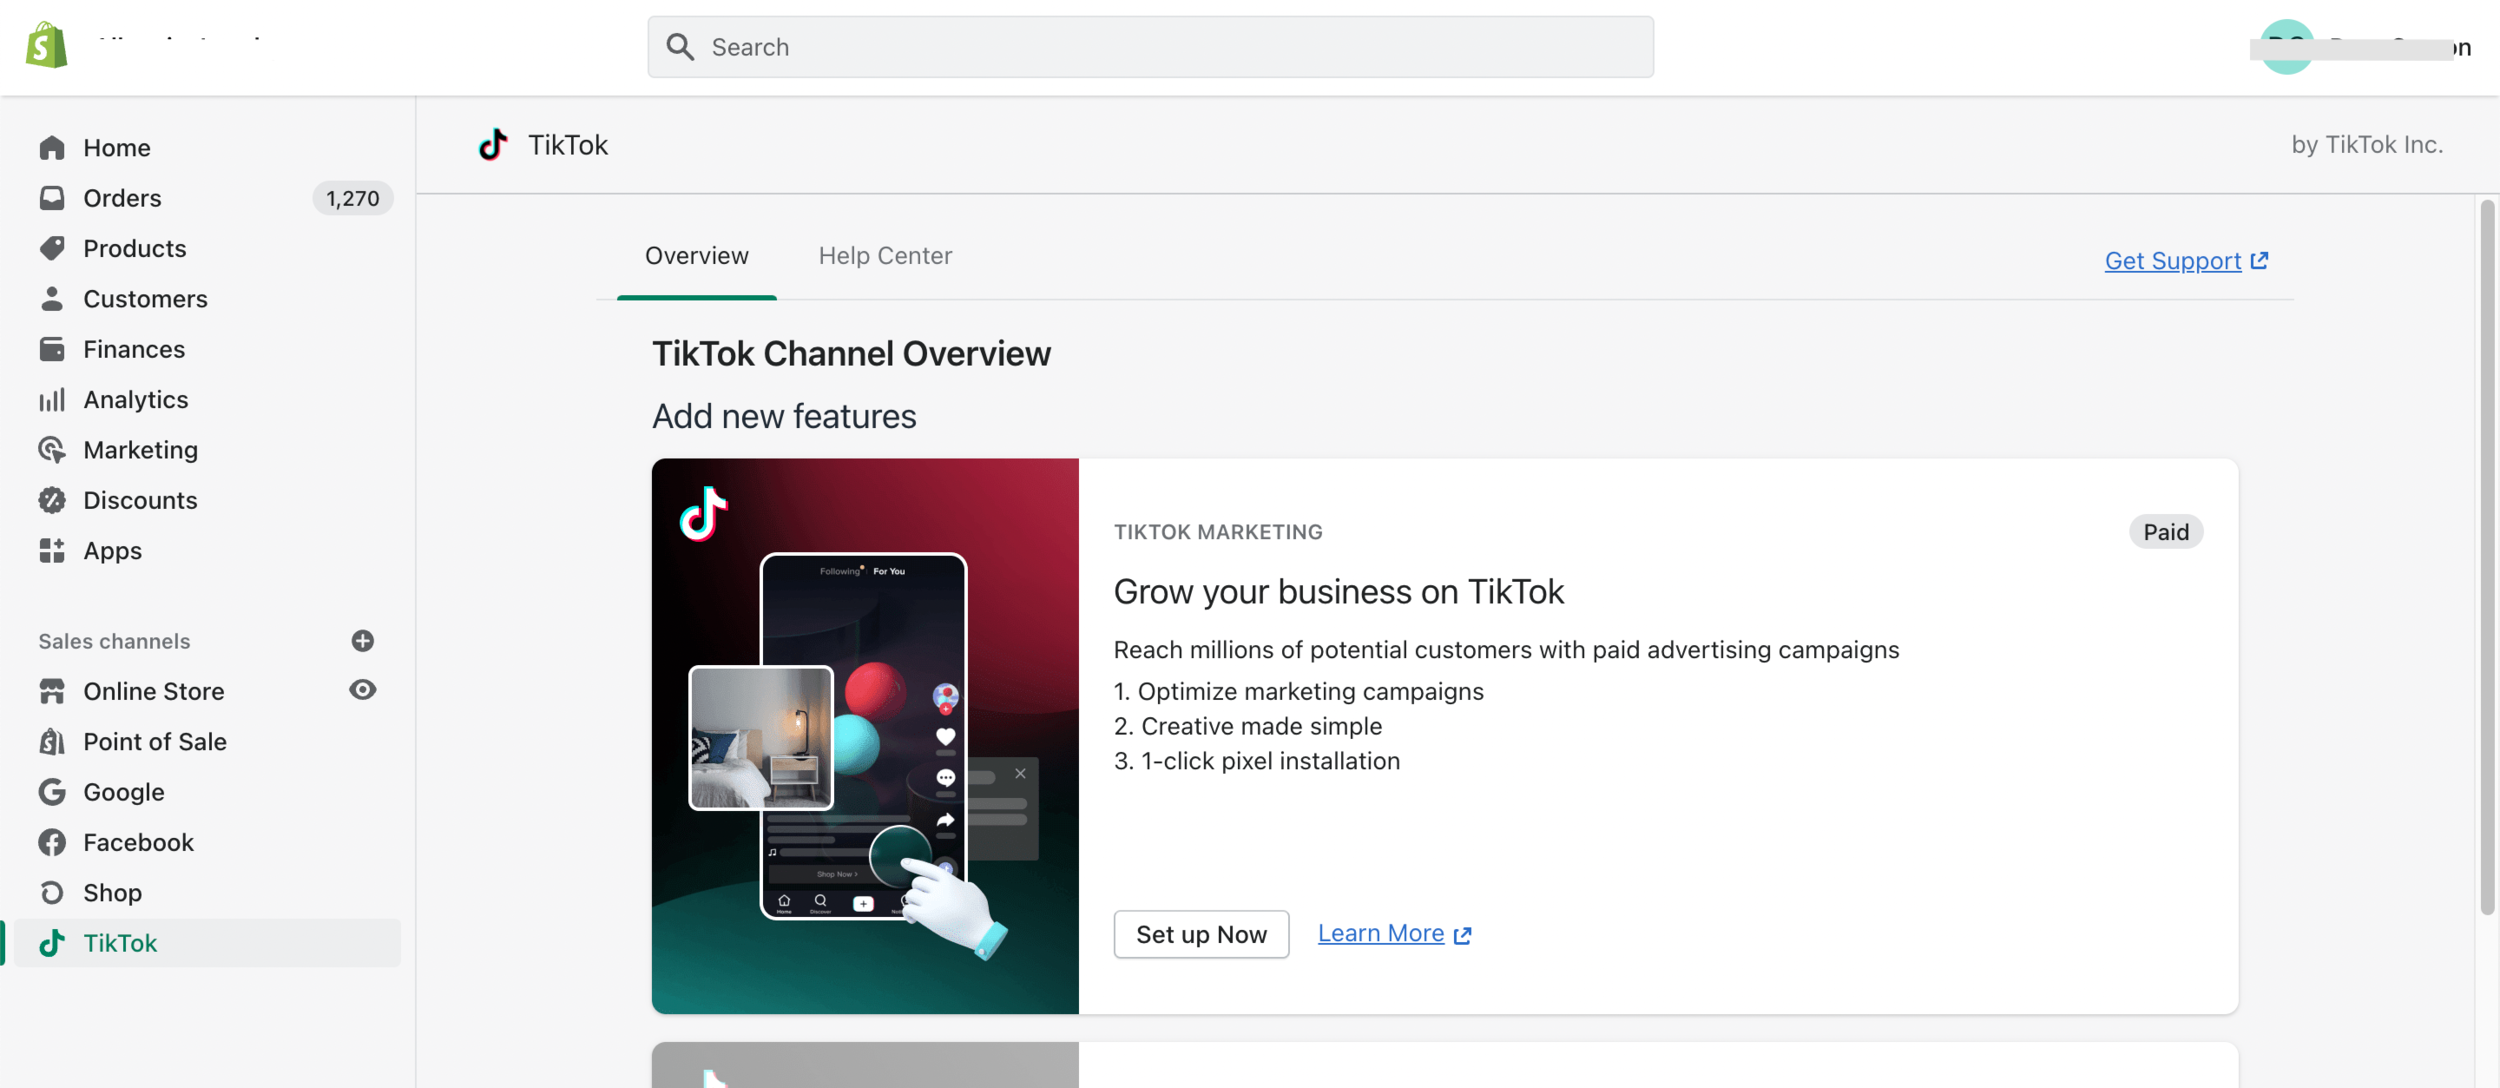
With the TikTok Sales Channel installed, now we need to create the pixel.
Click Set up Now under TikTok Marketing: Grow your business on TikTok
Step 13:
Log in with your Business Center login credentials you created at the beginning of this tutorial
Follow the instructions on the setup screen
Connect the TikTok Ads Manager
Under Data Sharing, be sure to choose the option with the maximum amount of data shared (on the right)
Connect TikTok Shopping if you would like to use the product catalog for TikTok ads
Create a pixel during this step. It should be named: TikTok Pixel for Shopify: with a string of numbers to follow
Input a payment method here if you desire, otherwise you can add it directly into TikTok Business Center

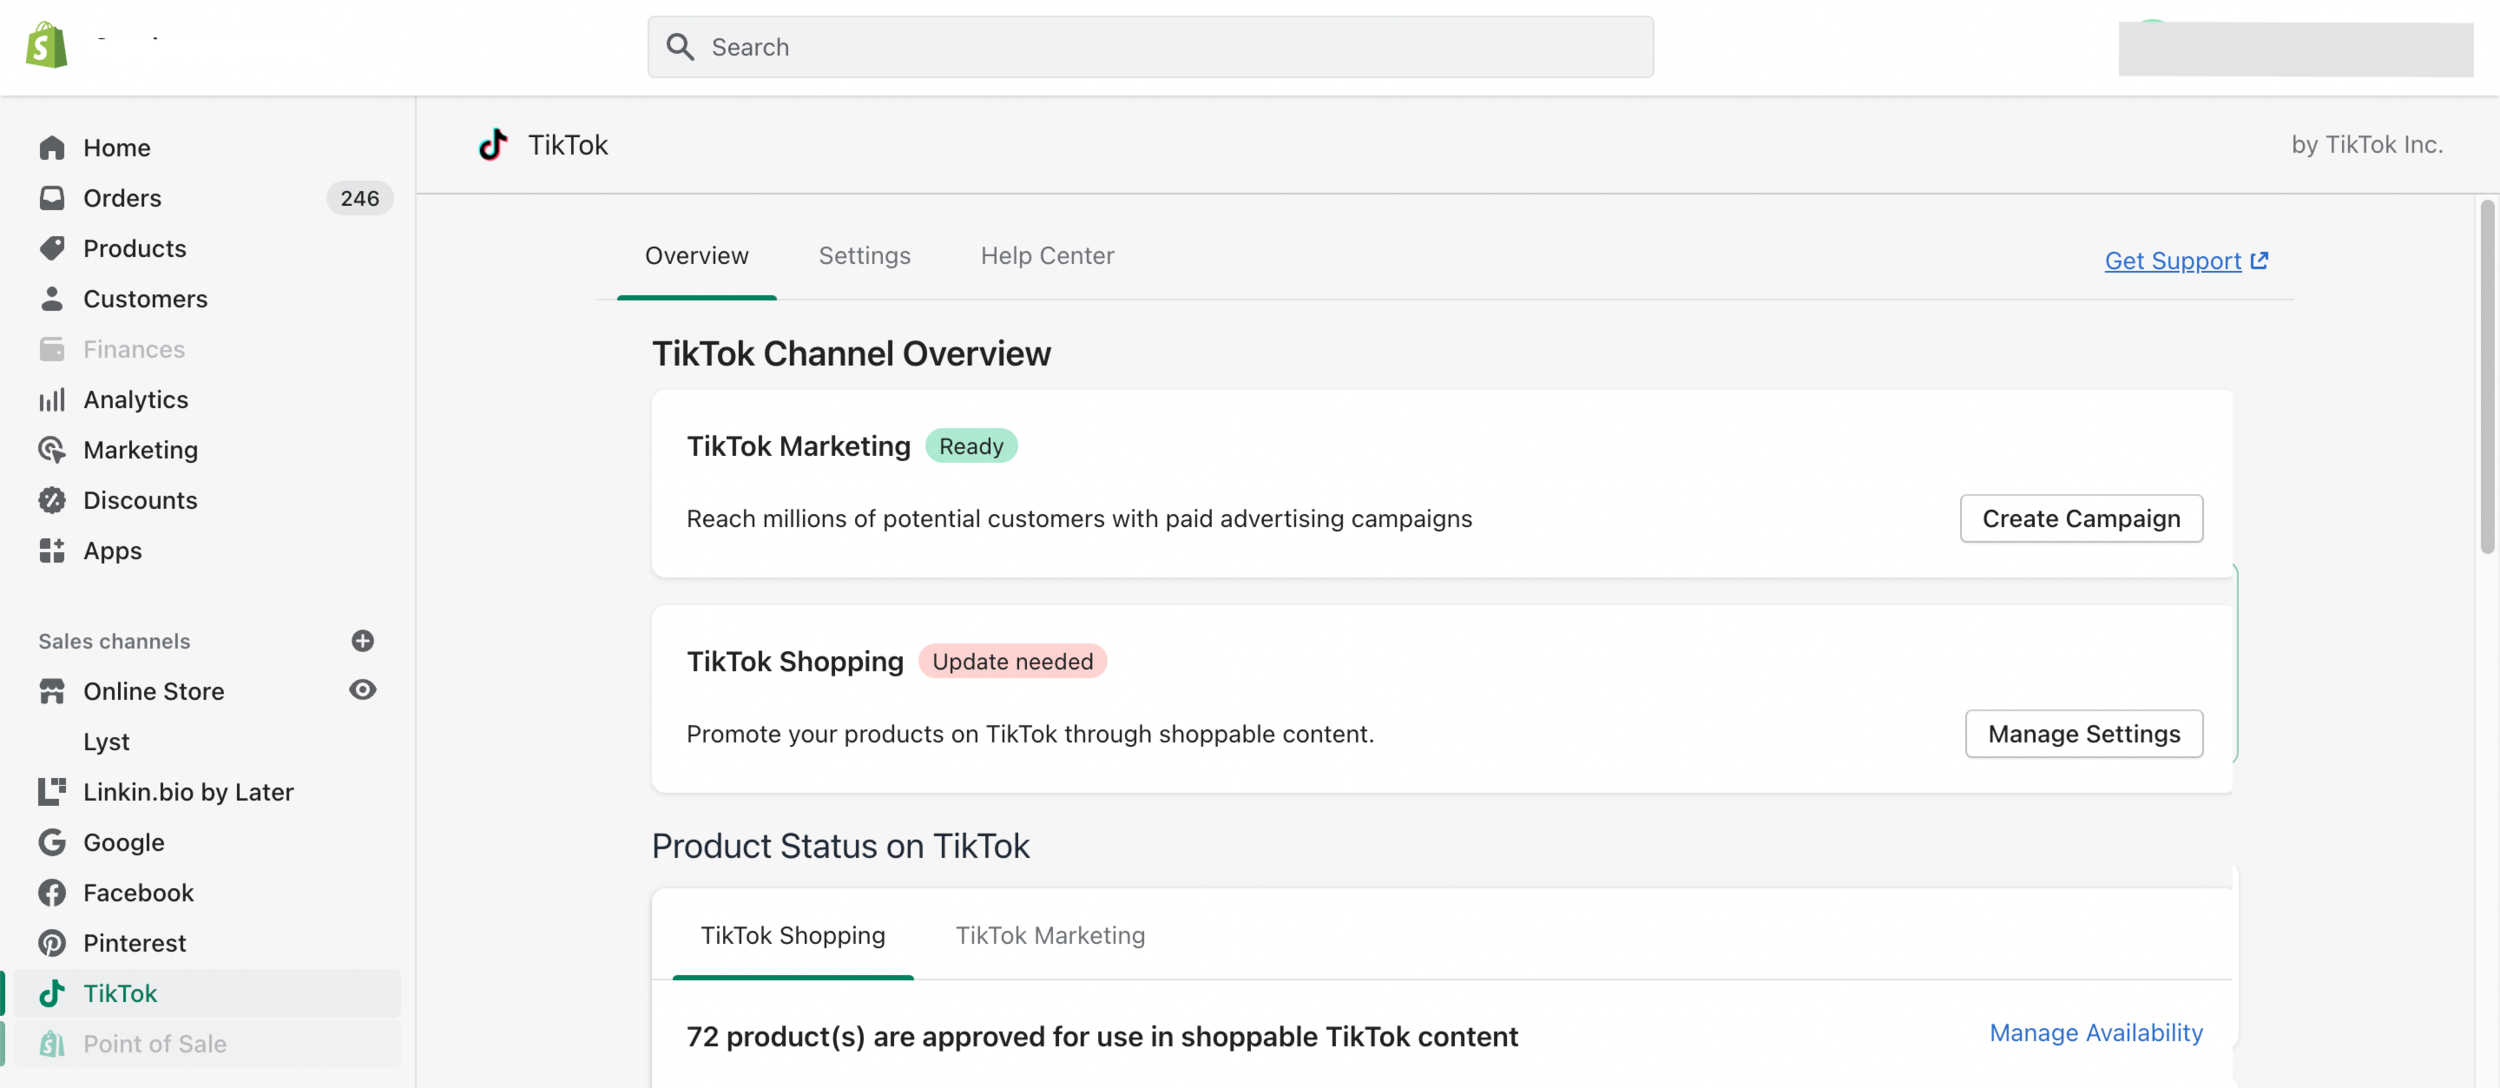
Step 14:
Your TikTok sales channel on Shopify should be set up and showing a green “Ready” indicator.
Go back to TikTok Business Center and Ad Account to ensure everything is synced and communicating properly, and begin creating campaigns!
Was this helpful?
Be sure to check out our TikTok Ads Talk Course with David Herrmann & Cody Plofker. This 150-minute course covers running TikTok ads from beginner to expert levels and includes how to create winning creative, set up a winning account structure, optimize your account, and more.
Love what you’re seeing? The Foxwell Founders Membership is a community of hundreds of like-minded advertisers around the globe and includes thousands of dollars of benefits and even more priceless insights into ad buying with some of the best DTC advertisers in the world.